Note
Go to the end to download the full example code.
Isosurface Visual#
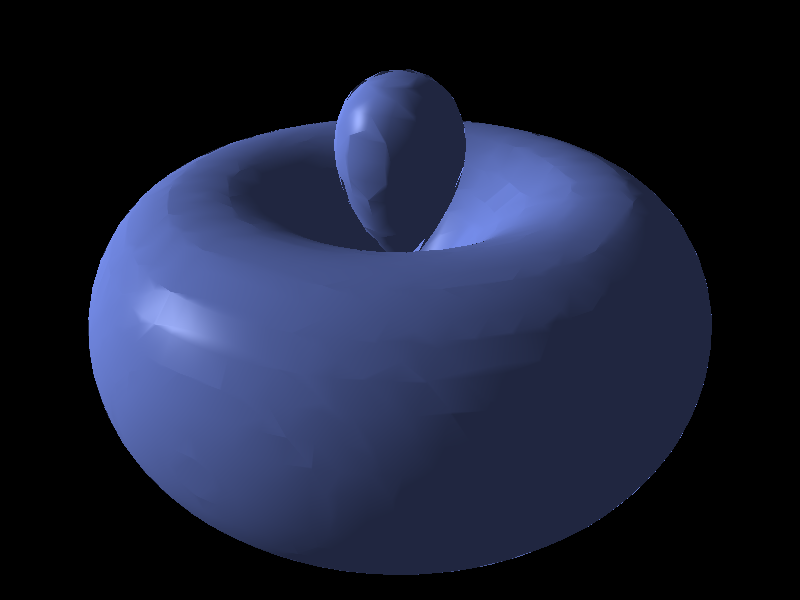
This example demonstrates the use of the Isosurface visual.

Generating scalar field..
/home/runner/work/vispy/vispy/vispy/geometry/isosurface.py:53: RuntimeWarning: overflow encountered in scalar subtract
  slices = [slice(shift[j], cut_edges.shape[j]+(shift[j]-1))
/home/runner/work/vispy/vispy/vispy/geometry/isosurface.py:53: RuntimeWarning: overflow encountered in scalar add
  slices = [slice(shift[j], cut_edges.shape[j]+(shift[j]-1))
import sys
import numpy as np

from vispy import app, scene

# Create a canvas with a 3D viewport
canvas = scene.SceneCanvas(keys='interactive')
view = canvas.central_widget.add_view()


# Define a scalar field from which we will generate an isosurface
def psi(i, j, k, offset=(25, 25, 50)):
    x = i-offset[0]
    y = j-offset[1]
    z = k-offset[2]
    th = np.arctan2(z, (x**2+y**2)**0.5)
    r = (x**2 + y**2 + z**2)**0.5
    a0 = 1
    ps = ((1./81.) * 1./(6.*np.pi)**0.5 * (1./a0)**(3/2) * (r/a0)**2 *
          np.exp(-r/(3*a0)) * (3 * np.cos(th)**2 - 1))
    return ps

print("Generating scalar field..")
data = np.abs(np.fromfunction(psi, (50, 50, 100)))

# Create isosurface visual
surface = scene.visuals.Isosurface(data, level=data.max()/4.,
                                   color=(0.5, 0.6, 1, 1), shading='smooth',
                                   parent=view.scene)
surface.transform = scene.transforms.STTransform(translate=(-25, -25, -50))

# Add a 3D axis to keep us oriented
axis = scene.visuals.XYZAxis(parent=view.scene)

# Use a 3D camera
# Manual bounds; Mesh visual does not provide bounds yet
# Note how you can set bounds before assigning the camera to the viewbox
cam = scene.TurntableCamera(elevation=30, azimuth=30)
cam.set_range((-10, 10), (-10, 10), (-10, 10))
view.camera = cam


if __name__ == '__main__':
    canvas.show()
    if sys.flags.interactive == 0:
        app.run()
Total running time of the script: (0 minutes 0.806 seconds)
