Note
Go to the end to download the full example code.
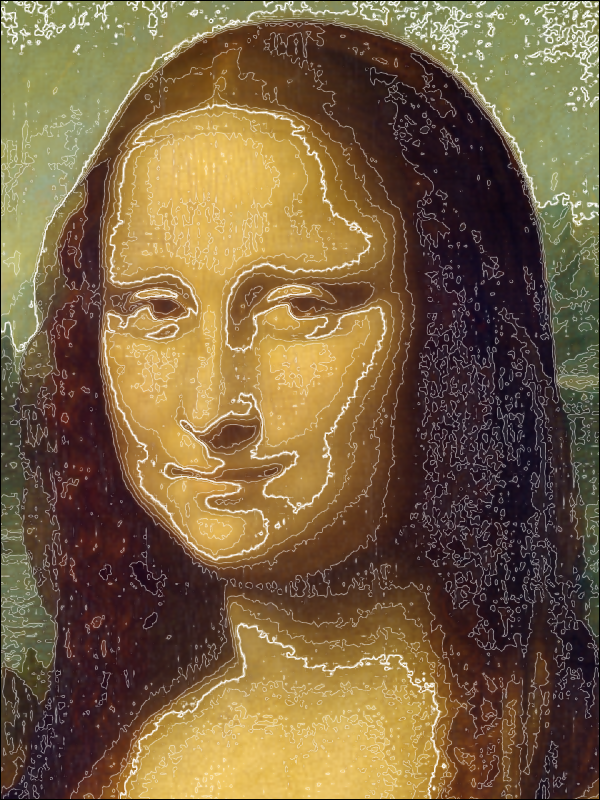
Apply Contour Filter on an Image#
Simple use of SceneCanvas to display an Image.

import sys

from vispy import scene, app
from vispy.visuals.filters import IsolineFilter
from vispy.io import load_data_file, read_png

canvas = scene.SceneCanvas(keys='interactive')
canvas.size = 600, 800
canvas.show()

# Set up a viewbox to display the image with interactive pan/zoom
view = canvas.central_widget.add_view()

interpolation = 'cubic'
img_data = read_png(load_data_file('mona_lisa/mona_lisa_sm.png'))
image = scene.visuals.Image(img_data, interpolation=interpolation,
                            parent=view.scene, method='impostor')
level = 10
iso = IsolineFilter(level=level, width=1., color='white')

# Set 2D camera (the camera will scale to the contents in the scene)
view.camera = scene.PanZoomCamera(aspect=1)
# flip y-axis to have correct aligment
view.camera.flip = (0, 1, 0)
# select face part
view.camera.rect = (160, 130, 240, 200)

canvas.title = ('Spatial Filtering using %s Filter - Isoline %d level'
                % (image.interpolation, iso.level))

# get interpolation functions from Image
names = image.interpolation_functions
act = names.index(interpolation)


# Implement key presses
@canvas.events.key_press.connect
def on_key_press(event):
    global act, level, first, interpolation
    if event.key in ['Left', 'Right']:
        if event.key == 'Right':
            step = 1
        else:
            step = -1
        act = (act + step) % len(names)
        image.interpolation = names[act]

    if event.key in ['Up', 'Down']:
        iso.level += 1 if event.key == 'Up' else -1
    canvas.title = ('Spatial Filtering using %s Filter - Isoline %d level'
                    % (image.interpolation, iso.level))
    canvas.update()


# attaching of isoline filter via timer
def on_timer1(event):
    image.attach(iso)
    canvas.update()

timer1 = app.Timer('auto', iterations=1, connect=on_timer1, start=True)

if __name__ == '__main__' and sys.flags.interactive == 0:
    app.run()
Total running time of the script: (0 minutes 1.577 seconds)
